Monday, November 17, 2014

Sugar Block Sampler Quilt


Here's another one by my favorite quilt blogger, Amy Gibson of Stitchery Dickory Dock.  I just can't get enough of her gorgeous stuff!  It's modern but so classic too.


This pattern was released one block at a time, over a full calendar year.  It's 2013's pattern but of course, these things take time, and it's just now been finished and snuggled up with (by humans and felines alike).


Samplers aren't usually my thing but I loved getting a new pattern each month and then taking the opportunity to really work on free-motion quilting!  As you can see, I tried to do something completely different on each block. 


I'd been dying to do these feathers forever and this was the perfect quilt for it.


A lovely paper-pieced star on the back really helps to bring all these colors together.


The best part?  It gets to stay here with me!  I don't make many quilts just for me :)


Monday, November 10, 2014

Anchors Away, Baby!

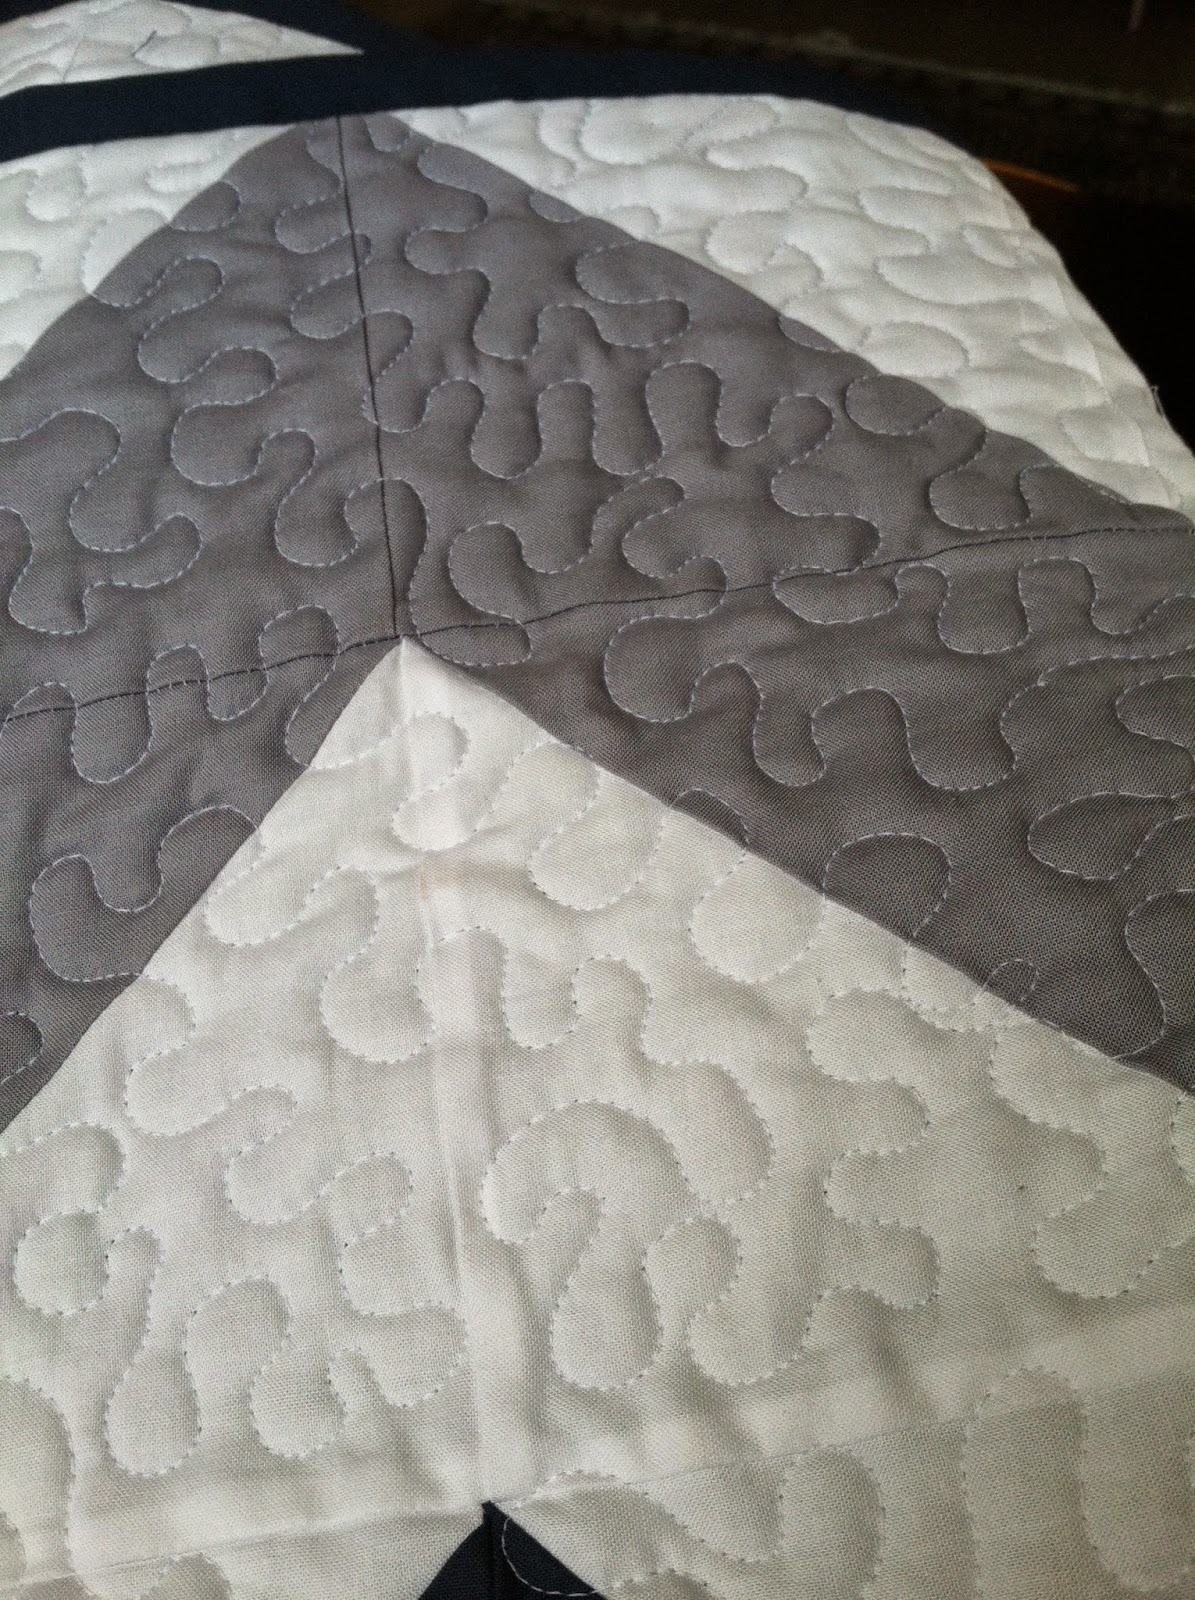
This quilt was commissioned by a friend of mine who is having her first baby boy (she has two beautiful daughters already).  She loved my chunky chevrons but also needed something to go with her nautical nursery so this is what we came up with.


I love that navy blue zigzag in the middle of the gray and white ones!


It was pretty easy to find a free anchor block tutorial online - there are a few out there! Then, up on the design wall it went, for the back of the quilt to be designed around it.


 I know baby will be here any day now and I hope he'll get some warm snuggles with this quilt.


Thursday, November 6, 2014

Tilt-A-Whirl by Amy Gibson

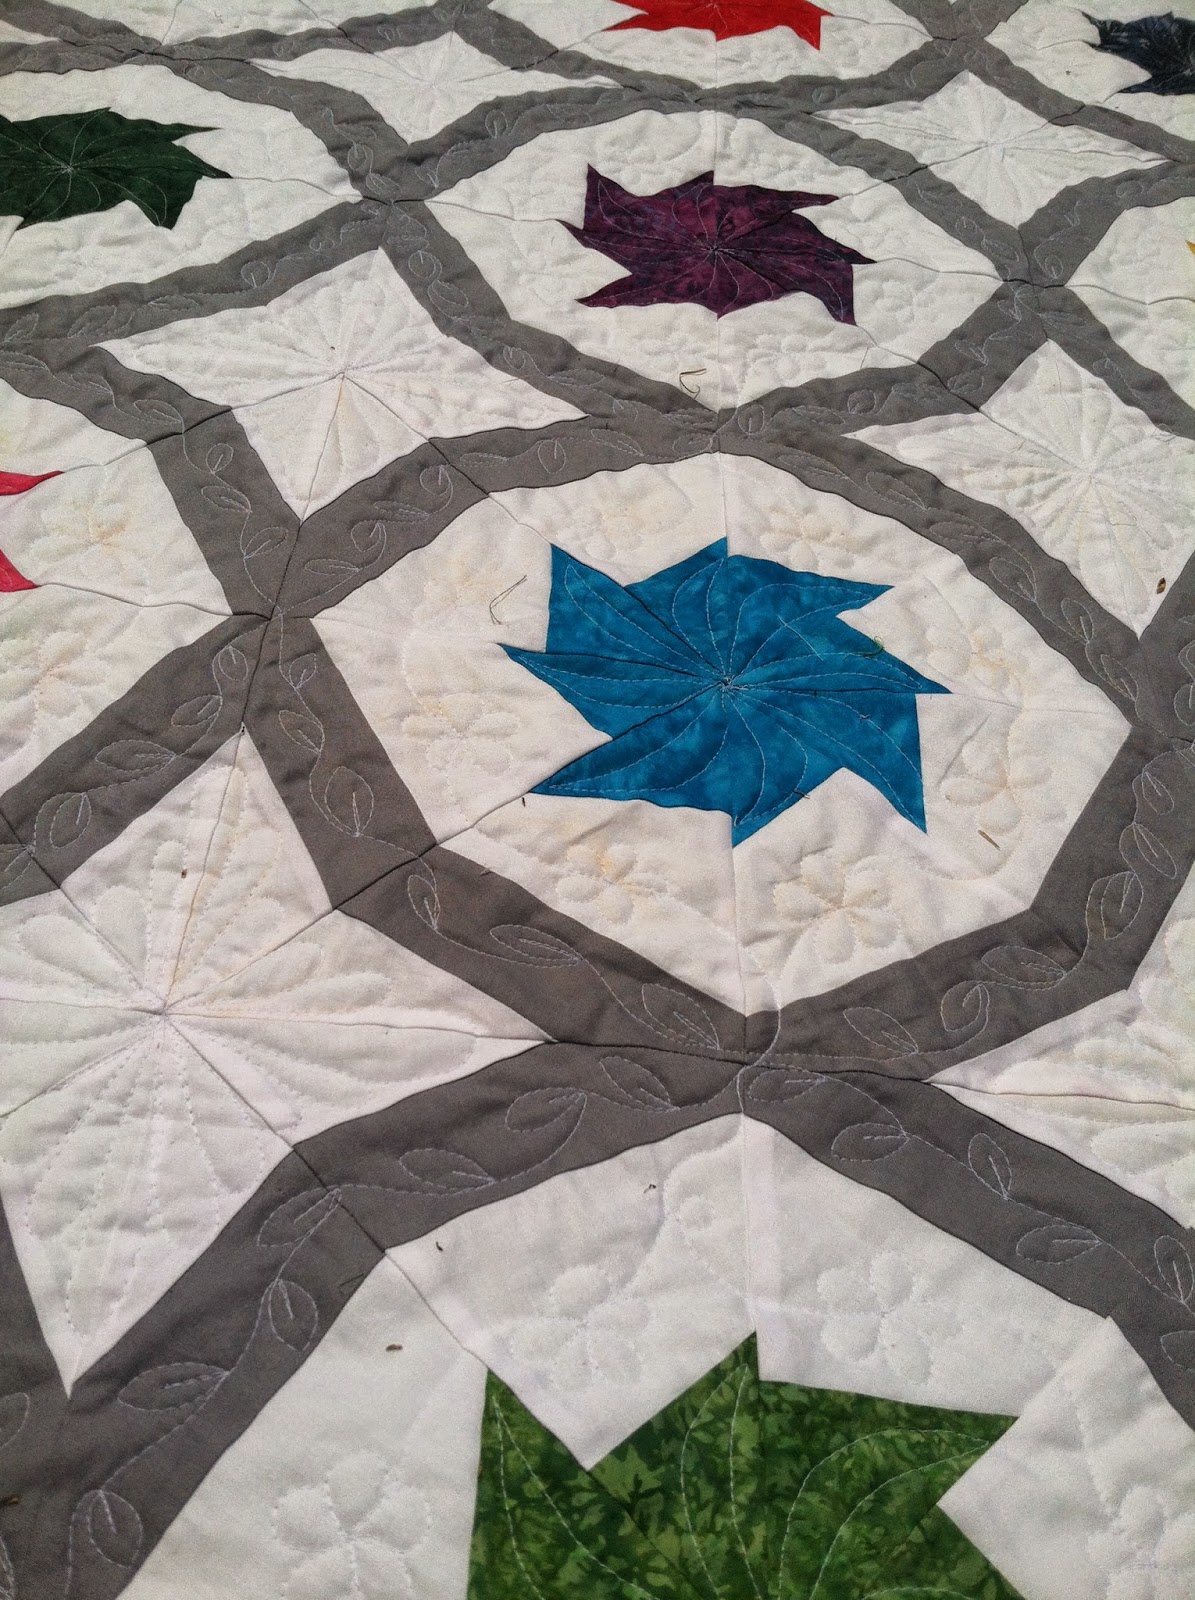
This pattern is called Tilt-A-Whirl and it was designed by the very talented Amy Gibson over at Stitchery Dickory Dock.  The pattern is available for purchase in her shop.


This quilt is entirely paper pieced, a technique which I adore because of the appearance of precision it gives without having to make precise cuts.  It does require a lot of paper, though, so make sure your printer is in working order before attempting this one.


The center pops of color are made with batik fabrics in a variety of colors and the white and gray are Kona solids


.

I had a blast doodling quilting designs on paper before deciding on a flower for each colored section; a vine of leaves on the gray, a vine of flowers on the interior white, and a sort of diamond-shaped flower pattern on the white diamonds.  This was a definite skill-builder.


This was a gift to my grandmother and I was sad to see it go!  It's one of my favorites.

Tuesday, October 29, 2013

Stitchy Exes Quilt

This is a pattern I've seen many variations on.  I have a few of these pinned, but I really wanted to use a jelly roll to make it easy on myself so I think mine is a little different from the existing ones out there.

The fabric is Moda Sew Stitchy.


After assembling rows of three and cutting them up, it was a little tricky arranging them into blocks I liked - and then I was dealing with bias edges so squaring them up was another challenge.  Then I really decided I wanted sashing so it wasn't so scrappy looking.  And then I went with some floating triangles at the top, on a whim.


Over all I'm very happy with it and I love how it just sort of evolved as a work in progress, without any real plan from the beginning.


I'll post more pictures after it's finished ... I just couldn't wait!

Wednesday, October 23, 2013

Cutting Edge Hello Kitty Quilt

My oldest youngling was overdue for a custom quilt.  I pinned several simple geometric examples and had my daughter choose from them.  This was the winner.

I found the pattern in a magazine.  It's Cutting Edge by Fresh Lemons Quilts.  I just love paper piecing and was thrilled with the triangle layout.

I agonized over color selection here.  I really wanted the red column to fade down to orange, and then the red orange to fade down to yellow orange; the yellow orange down to yellow green, etc.  I love how it turned out. 

I ordered this gorgeous bundle from Etsy and stuck a few HK prints in there from my stash.  Then I decided it was just not enough Hello Kitty in there so I purchased this adorable gingham print for the back.

Coming straight off the Mario quilt, I was ready to go back to straight lines and the quilting went SO fast compared to Mario!  I think I finished it in an hour or so.  Then I used a print from my stash (Walmart I think) for the binding. 

She loves it :)  It's probably my favorite quilt of mine so far.

Monday, October 21, 2013

From Tantrums to Roses


I am officially a quilter, and my youngest "toddler" is almost not anymore, so I have opted for a name change and a rebranding of sorts (including an etsy shop).

Desert Rose is a china pattern that was popular in the 40s, 50s, and 60s, and my grandmother had a large collection which I inherited.  You can see it in "Gangster Squad," every antique store in the south, and in several of my food-related posts.

Recently my aunt sent me a quilt my grandmother started - the blocks are individually hand-quilted and it is going to be a true labor of love to finish it, an amazing heirloom I won't want to let go of.

So on my fifth or sixth day of brainstorming new blog names, during dinner, it hit me :)  So here it is, Desert Rose Quilts; heirlooms to last forever and create memories.

Saturday, October 12, 2013

Mario Quilt!

This awesome dude was designed by Angela at Cut to Pieces.  I just tripled the size of her Mario pattern and left out his friends!

This is the first time I've tried Free-motion quilting on my little machine that could, and it almost worked.  I have some serious looping issues on the back but the front looks awesome.  I gave him some little hills to jump on, some clouds, and a vine to climb. 

Picking out the perfect shades of Kona cotton was super fun, and I had a blast putting this guy together.

Gluten-Free Crock Pot Lettuce Wraps

I've been planning a blog revival since we moved into a bigger house and I've been able to start quilting again.  This recipe gave me just the jolt I needed.

Hubs has been gluten free for a few months now and I wanted to try lettuce wraps.  I threw some things together and worked on a recipe to share :)

4 to 6 chicken breasts

2 tablespoons chunky peanut butter

quarter cup La Choy brand or other gluten-free soy sauce

quarter cup brown sugar

two tablespoons honey

one tablespoon dried ginger

one teaspoon red pepper flake

two tablesppons rice vinegar

two tablespoons dried basil
cooked white rice and a head of lettuce, for serving, not to be added to crock.
dump it all in, set it and forget it :)
Delish.


Saturday, November 24, 2012

Cathedral Window Quilt

I wanted something really traditional for my mother-in-law.  When I saw this post by Amy Gibson on Moda Bake Shop, I knew I wanted to do it in greens for her.


This technique is easier than traditional quilting in some ways, and more difficult in other ways.


In this one, you START with the quilting.  These circles are individually quilted with circles of batting, and then pieced together to create squares on the back of the quilt and cathedral windows on the front of the quilt.  I love the technique; I think it looks so much harder than it really is.


Amy's tutorial is descriptive and easy to follow.  I had a ton of fun learning this quilt. 

I'm not gonna lie, though, quilting down these "petals" was not fun.  Turns out I'm a lot better at straight lines than I am at curved lines.  Feeding six layers through my machine while simultaneously turning the entire quilt at a consistent angle was rather difficult, but I persisted and this is the gorgeous result.


There's no basting, no binding, and it uses a very different quilting method.


It'll look great on her oversized cream-colored chair, and I think the style fits her perfectly.

Sunday, October 28, 2012

Tiny Playroom on a Budget

We move a lot.  My fifteen-month-old has lived in three houses and several hotel rooms.

All of our previous playroom have been pretty gigantic, and this one, not so much.


The first step, obviously, is to downsize.  We don't need five sets of blocks, four teasets, or hundreds of stuffed animals.

Once we did that, however, I still needed to free up some space.  Walls are where it's at.

For the stuffed animals, I wanted to do this after seeing it on Pinterest, but those planter baskets are expensive, so I had to figure out a cheaper version.


These laundry baskets were three dollars at Walmart, and the pink spray paint was five dollars.  You can cut them in half with kitchen shears.  My husband had some spare wood in the garage and he figured out a way to attach the baskets to the wall to put our stuffed animals in!!


First he drew an outline of the basket on the wall, then nailed the boards to the wall so they would sit just inside the baskets.  Then he used a staple gun to attach the baskets to the wood.  Stuff it with loveys and there you go!!  I think it looks SOO cute!!  Especially under the crayon art, which you can read about here.


For the bookshelves I really wanted to do these, but those double curtain rods are expensive, so I went for this gutter method instead.  The gutters are like 8 bucks at Lowe's.  Cut it in half, screw it to the studs in the wall, load it up with books and you're done!!  Awesome!!


Taking the books and stuffed animals off the playroom floor opened up a world of opportunity in there.  I was able to put all the puzzles in or on the cubby, which freed up the table for Diego's rescue center.  Some cubbies were also freed for baby toy storage.


Getting the stuffed animals out of the toybox allowed me to use the box for dress-up clothes, which allowed me to get the giant basket they were in out of there completely!  It's going to replace the laundry hamper I cut in half (irony?).


These puzzles were like $10 for five at Target, and the puzzle saver comes in seven dollar sheets at Amazon.  Super-cute, super-cheap artwork for any room.


The Hello Kitty shower curtain can't be used on their shower now because the one in this house has a door, so it's gracing their window and couldn't be more adorable.


Take the doors off your closet and it really opens up the space.  The kitchen, shopping cart, and hanging baskets fit there perfectly!  The purple one was eight dollars at Walmart and the orange one was 2 euro in Germany.  The bins on the shelf at the top hold their craft supplies - paint, sand art, scratch art, markers, crayons, you name it.  They were originally purchased to go in the cubbies, but I was able to separate them to get double usage out of it for this room :)


I am just in love with this space :)

Saturday, October 27, 2012

Pleated Jelly Roll skirt

I am in love with this.


It turned out way better than I could have hoped.


It was inspired by this tutorial at moda bake shop, but I did it my own way and changed a few things.


I got this Jelly-roll at walmart and I think it's just darling.  I decided alternating darks and lights would be best for this style of pleating; I really wanted the pleats to stand out.


I sewed all the strips together first, to create one continuous skirt panel instead of several, and pressed to the lighter side.  Then I top-stitched on the light side of the seam, to serve two purposes:  to contain the inside unfinished seam, and to add further detail to the pleats.  I'm so glad I took the extra time to do this.  I think it really adds to the skirt.


Then you just fold your dark strips in half and press to create the crease you'll use as your pleat guide, and fold in the light strips to create the pleats.  Press and pin, then just stitch all the way along the top of the skirt to set the pleats in place.


After cutting off the sewn jelly rolls at the crease in the middle of them (they're 40" long - too long for a child's skirt), I gave it a big fat hem (and it's still long) and used some of the scraps to create the elastic casing.   You may want to do your measuring first so you know how far down the strips to do your sewing and top-stitching.


So really, I could do the whole thing again with the other half, but I think I'll save it for quilting.


I mean, isn't she precious!?!