This first one was kind of silly for me to spend so much time doing. it's meant to be a way to use your old, peeled, broken crayons. I, not wanting to wait around for years to have those, used perfectly good, full-price, name-brand crayons. I peeled them, which took FOREVER, broke them into pieces, had my toddler sort them into colors, and baked them in my bug molds.

The ladybug turned out kind of cute but the others broke.

This green one would have been SO pretty :)

Then I wanted to do these guys:

The only reason I didn't do this weeks ago is because I thought my husband would hate it. Then he saw it at the home of some friends and he was like, Heeey! You could do that!! Well, duh. I had to go buy the canvas, the crayons, and the glue gun, but these are items you could conceivably already have in your home.
You glue the crayons to a canvas and melt them with a hairdryer so the colors run down the canvas. Any glue seems to work: super glue, hot glue, elmer's glue; whatever you have. Some people peel the crayons (which I did not want to do again) and run the crayon itself through a hot glue gun, but I did it this way so I could leave the wrapper on.
For the flowers, I picked out all the greens I could get out of my two 96-count crayon boxes and my three 24-count crayon boxes, and then supplemented with brown and yellow. I only needed some of them to run most of the way down the canvas, to look like stems, so it didn't take long. Then when it cooled, I flipped the whole thing upside down and glued paper flowers to it. Super cute.


For this next one, check out this original post. Again, I did not want to run the crayons through a glue gun, but I thought I could cut out a pretty cute little girl with an umbrella and make it look like she was standing in the rain. I used my cricut.

Then I created a cardstock shield and scotch-taped it to the canvas it self. I tried to make a good seal so none of the wax would get under the umbrella, and it would look like the rain was really running off of the umbrella after I out the black cutout back on the canvas.

I think it turned out okay. For this one, I needed ALL of the wax to go all the way to the bottom of the canvas, because rain doesn't frequently stop in the middle of the sky, so it took longer to melt. But it's so much fun to watch them melt :)

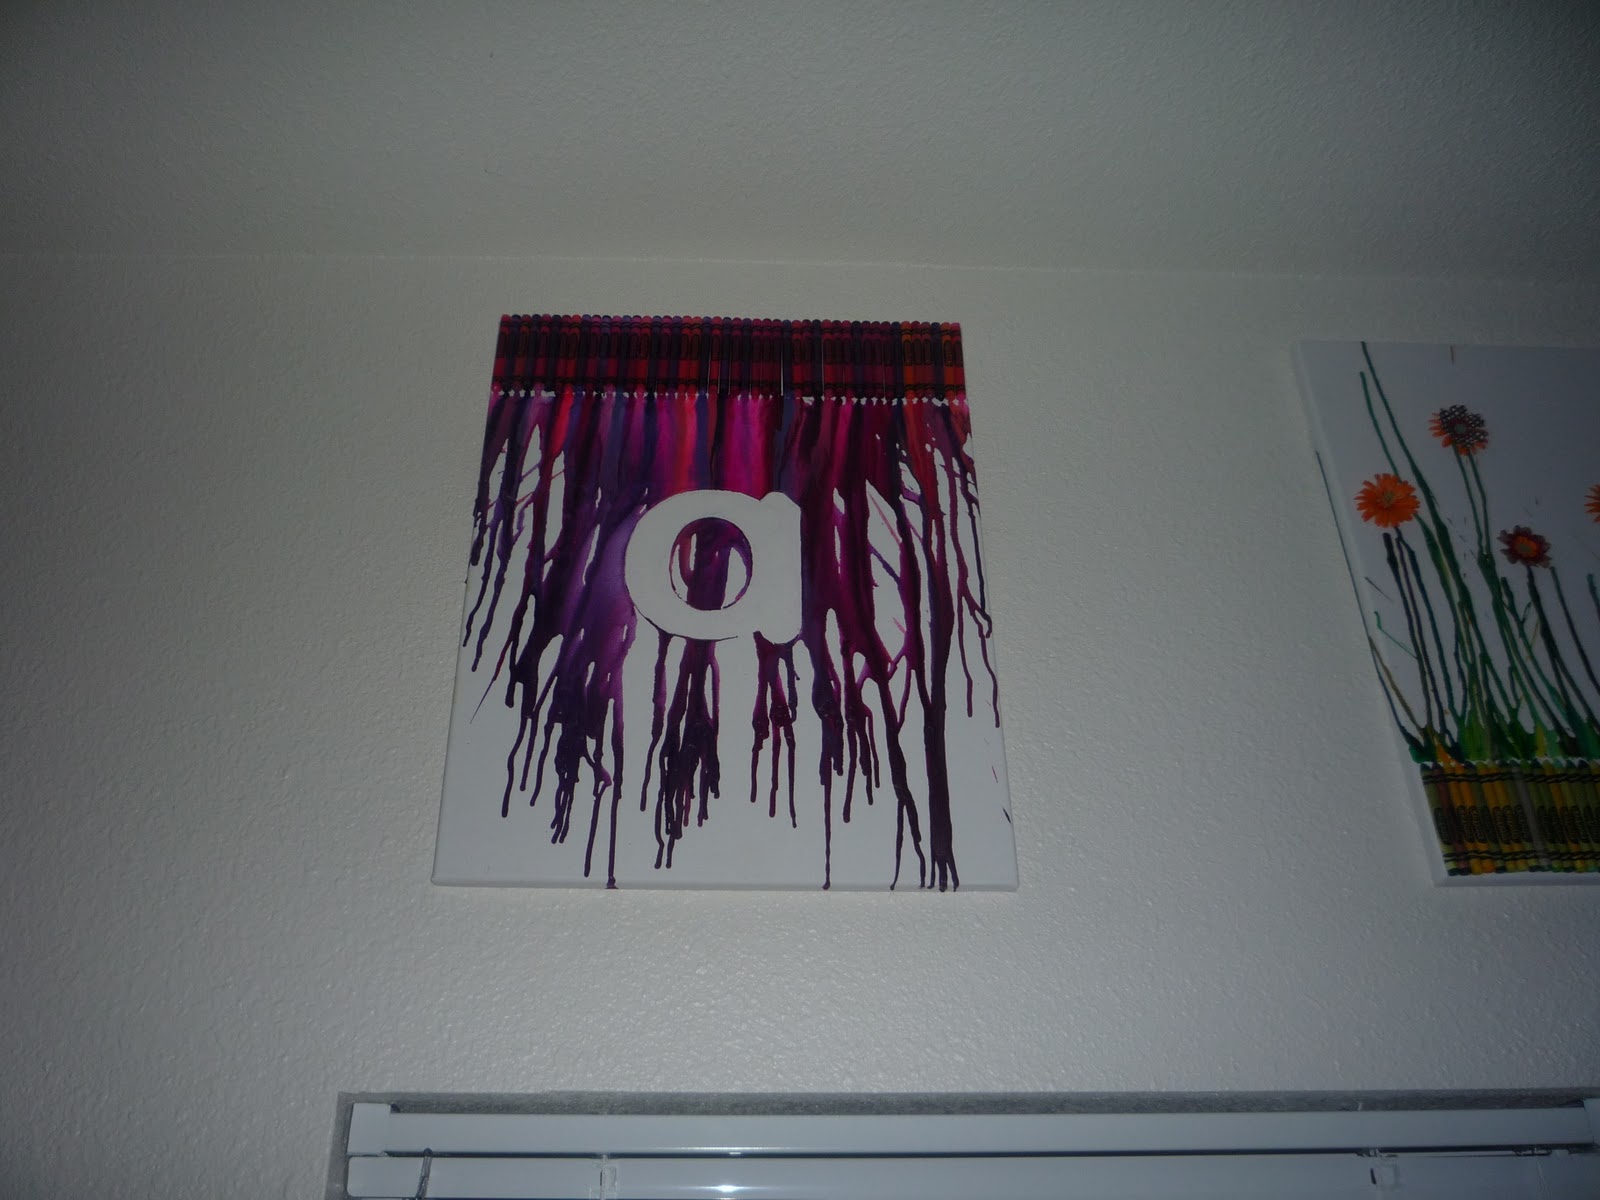
For the next one, I wanted to use hot glue to trace the outside of the letter A, to create a wax-proof border that I could then peel off to reveal the negative. Then I figured running it through my sticker machine would be good enough, but I should have done the hot-glue thing. I liked the stained look I got, but if I do it again I will try to get it all completely white.

I discovered the best technique is to slowly move your hair dryer back and forth over a section of crayons to get an even-looking drip. If you hold it in one place, the air all goes out from the center, so you will see exactly where you held the dryer. It will splatter a little, but just slow down and back off and it will look good. When you move the dryer away from a section, that section will magically start melting. It's like the air pressure prevents it from flowing, so once you heat it up, back off with the air.
You will get buildup - just point the dryer at it and melt it for your desired effect. Remember to point the dryer downward. You can sort of control the flow of the wax with the way you point the dryer. If you've ever burned a candle in a wine bottle, you know that wax will kind of gravitate towards itself, so you get rivers of wax. Because of this, you won't have perfect straight lines, but lovely flowing lines that can't be duplicated or recreated :)
UPDATE : DO NOT DO THE HOT-GLUE BORDER. Hot glue fuses itself to the canvas and does not come off at all. I did it with a butterfly , and it turned out super-cute, but If I had messed up that hot glue it would have been trashed.
I also touched up the letter "a" with white paint and it looks WAY better. Updated pics:
I also touched up the letter "a" with white paint and it looks WAY better. Updated pics:


No comments:
Post a Comment