Thursday, March 15, 2012

Zebra Quilt


Add QUILTING to my lengthening list of abilities!


I saw this jelly roll at Hobby Lobby while I was in the middle of the Bumblebee Dresses and I just couldn't resist. I love the punky purple prints. I thought about doing a rag quilt but I am currently turned off by the idea of quilting individual pieces instead of the whole thing at once, so I'm putting that off. The jelly roll quilt tutorials I found were all rag quilts so I read a traditional quilt tutorial instead and followed those basic guidelines.  This one at Diary of a Quilter is great; it's simple and easy to follow, and broken down into sections so you can read about each step in detail if you need to.


First you just sew the jelly roll together to make your quilt top.  I started out with a seam allowance that was too small and it unraveled a bit.  I wanted more of the fabric to show but obviously I don't want it to fall apart as a result.


Then you add a border if you want one. I thought the zebra print looked great with this jelly roll, even though I am NOT an animal print person. At all.


Then you choose a backing fabric and purchase some batting.  Unfortunately I bought my border fabric and my backing fabric at the same time, using the measurements of my quilt top WITHOUT the border.  Rookie mistake.  So you can see, I had to cut off some of my border from the finished quilt before binding it because the backing fabric was not big enough.

Measure twice, cut once, people.


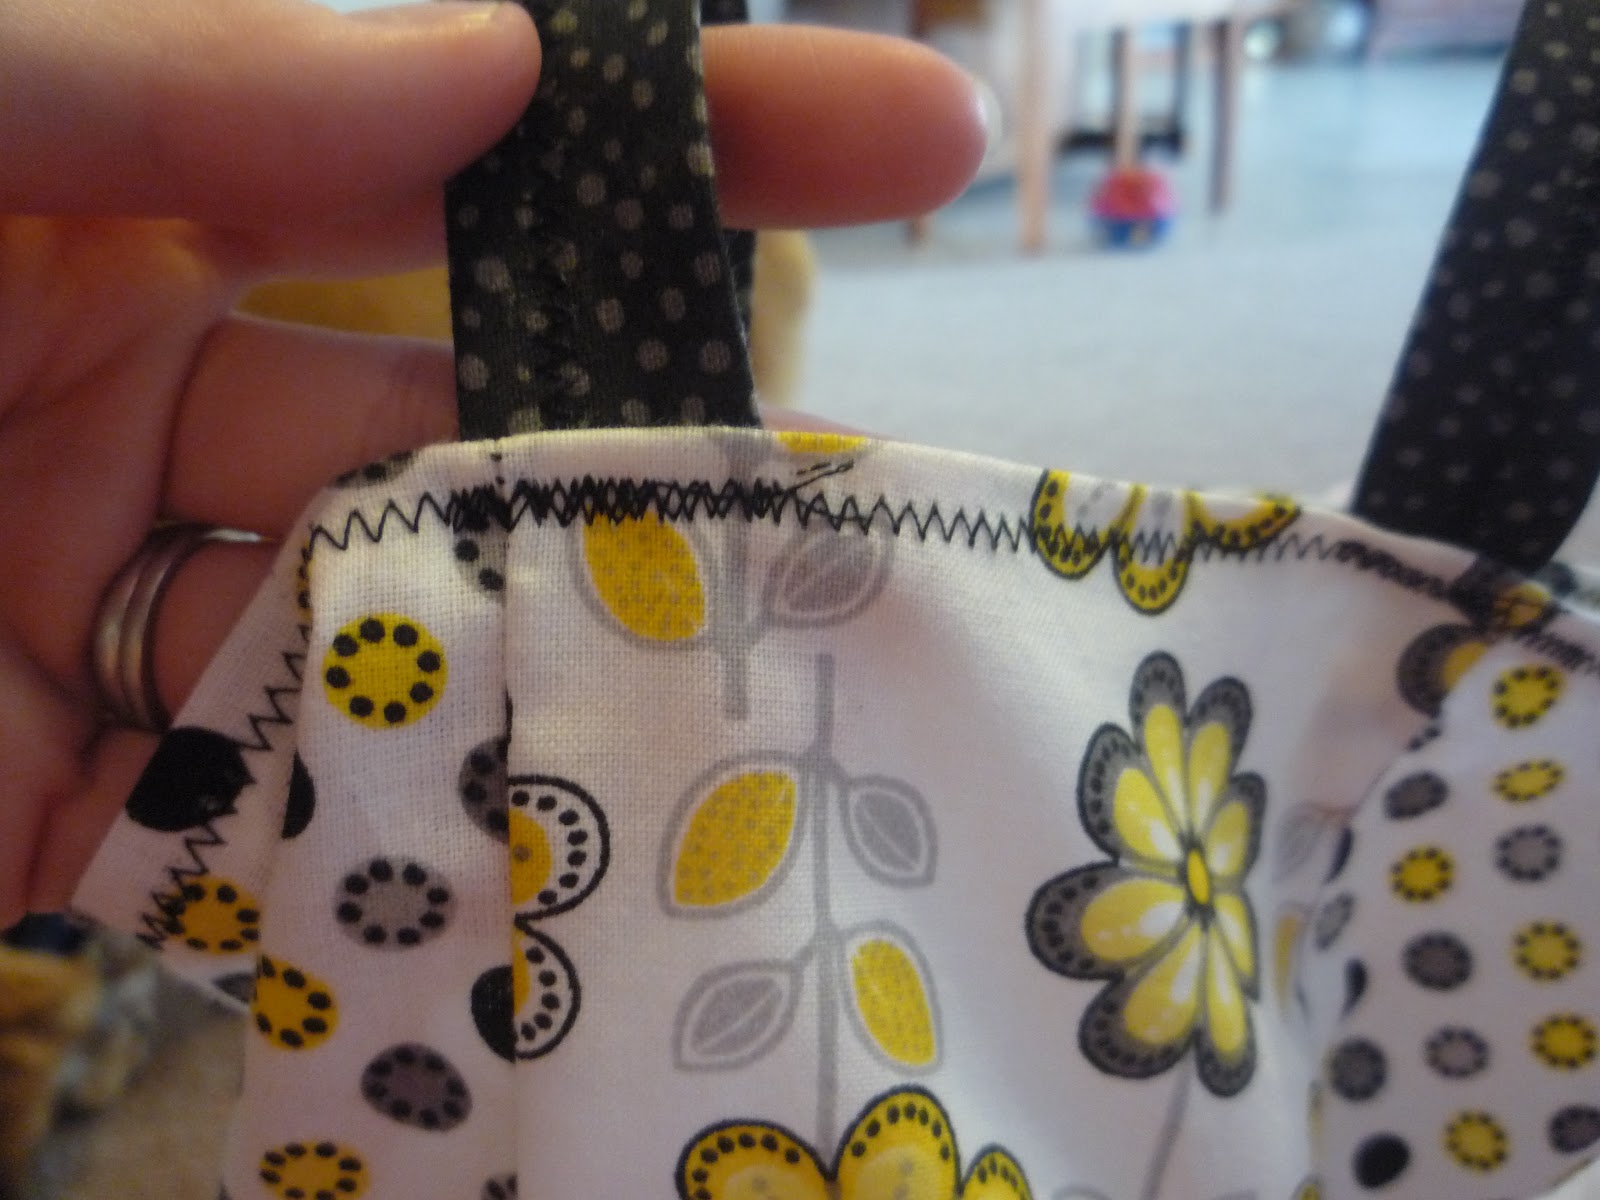
The binding is that purple edge around the whole thing that binds it together, like a book, joining all the layers or pages together to create a finished project.


I was in line at the store with my batting, binding, and backing and I asked the saleslady if my little Janome would handle the quilting.  (Quilting, by definition, is sewing three layers together all at once so I was worried).  I didn't know if I needed a walking foot. After learning what they cost I decided I didn't.  The sales lady said, "Oh yeah, the Janome has the power to quilt.  I know for a fact it can sew right through corset boning."

Oh.  Really.  Corset boning.  Good to know.  I'll have to remember that if I'm ever on Jeopardy!.  Not sure I would tell a perfect stranger that I'm an expert on corset-making, but whatever.  Come to think of it, the lady who cut my fabric said she was releasing it from its bondage, so maybe I need a new fabric store.......

Anyway I got home and added my border and it looked pretty good, and then I was a little dismayed when the new quilt top was too big for the backing.  I pin-basted it anyway, and got to quilting.  I went with a grid.  I don't know if you can tell, but my lines are really crooked.  I don't care, I made a quilt :)  Then I went the other way and sewed along the existing seams, "in the ditch."  Those lines are a little straighter.  I have to say I was really proud of my machine - not a single hiccup quilting this guy.  I want to make another one like RIGHTTHISVERYSECOND.


Then I laid my quilt on the floor (laid being the past tense of lay.....dammit) and trimmed off my zebra border :(  You can see it's not even all the way around, but it would have been if I'd bought enough backing fabric.

And then the binding, for some reason, was my favorite part.  Maybe because I was so close to being done, and I thought I might actually pull it off, but I think mostly because it's more precise, methodical work.  You gotta pin it all in place around the edge through all three layers, and miter the corners, then sew it on one side and flip it over and pin the other side before sewing it. And then you have a QUILT!


I've heard of people taking 20 years to finish quilts so I hesitate to tell you it took me four and a half days, even with three kids, cooking, cleaning, ripping out seams, cutting off edges, and running out of binding.  I started Saturday and finished Wednesday.


I like it :)

Friday, March 9, 2012

Bumblebee Dresses

I saw this beauty on Pinterest and was intrigued by the idea of purchasing pre-cut coordinating fabric to use for a project.  It took me a few weeks to find a jelly roll in the store ( Wal-Mart ) I really liked and this is the end result:


Upon laying out the fabric on my living room floor I decided I wanted horizontal stripes instead of the original vertical by Cheri over at Moda Bake Shop, and laying it out that way I was able to get all three skirts out of one jelly roll (one strip of the jelly roll made all six straps).  I picked up some pre-cut 5.5" squares of matching fabric and laid them against some store-bought dresses to figure out what the bodice would look like.


Because I was dealing with pre-cut fabric I decided to make two tubes (bodice tube and skirt tube) instead of four flat pieces to sew together.  This is a little more difficult to put together in the end but I didn't want to cut the squares or have to match the stripes on two different side seams.


First I made the skirts.  The 4T is 9 strips long, the 2T is 8 strips long and the 9m is 6 strips long.  This left one strip to use for the straps.  I ruffled the tops of the skirts and set them aside.


Next I sewed the zippers between two squares of matching fabric and sewed more squares to it to create the "tube" bodice.  I didn't cut any shape to it or anything, they're just tubes.


To attach two tubes together, just like pants legs or shirt sleeves, you turn one of them inside out and put the other one inside it, so it looks like this.


(that's not a baby butt in the background.  it's the back of a knee :)   )

Then you rearrange the ruffle so it matches the bodice and you pin it all together before sewing.  Stitch it together and you have a dress :)  I tried the strapless dresses on the girls and measured over their shoulders to see how long the straps needed to be.  (Let's face it, a strapless dress is not going to work on these kids.  The straps are necessary to keep their torsos covered.)  I cut the jelly roll strip to the appropriate lengths, then folded in the raw edges and pressed them before sewing to create the straps.  I find this to be easier and neater-looking than sewing it inside out and inverting it.


I like a zigzag hem at the bottom.


And I went ahead and did a zigzag hem at the top too.  On this one you can see the straps were an afterthought, but on the other two, I pinned the straps to the dress as part of the hem so it looks neater.


I finished the longest inside seam but I will let the others fray and soften and see how they do over time.


Monday, March 5, 2012

Simple Little Girl's Dress

I am slowly moving up in the world of sewing :) I tried some simple beginner projects and had some failed experiments before I felt like I was ready to try something I thought I could get some use out of. Here it is!


To be sure it would fit, I traced an existing dress that fits my daughter well, adding roughly half an inch to the entire perimeter of each piece for seam allowance.  I trace with chalk directly onto the fabric, but I think I'll start making some patterns with wax paper so I don't have to keep finding a good dress to trace.


This is just four pieces, front bodice, back bodice, front skirt and back skirt.  The skirt started as a rectangle and then I ruffled the top to the same width as the bodice.  If you don't know how to ruffle, you can youtube it, but I do want to make my own video tutorial for that because I found the existing ones hard to follow.


I cut the back bodice in half and inserted the zipper.  (Don't leave this for last.  It won't work.)  I hemmed the sleeve and neck openings, then attached both bodices to their respective ruffled skirts. 


Then I wanted a little something extra and I had this pretty ribbon, so I edge-stitched it in place across the top of the ruffle.  I did this before attaching the front to the back because I wanted the side seam to be continuous, without the ribbon just tacked on at the end.


Now to attach the front piece to the back, I lined up the ribbon, because if this is not lined up it will really be noticeable, whereas anything else would be fixable.  I sewed the front to the back and finished the inside seam with a zigzag stitch (I don't have a serger).  I also really like french seams but I never remember to leave enough seam allowance.


I didn't hem it but instead added the ribbon to the bottom raw edge, so I hope it doesn't fray too much.


It was nice and simple and doesn't look as home-made as many of my other projects.  I would like to give you guys a full tutorial, but I've got to remember to stop and take pictures.  Also, I read so many tutorials myself, being a beginner, I feel silly writing one.  I figure if you know half of what I do about sewing you can figure this out on your own just like I did.  But then some people really need directions, whereas I like to branch out and do my own thing. 

I'm working on a set of matching Jelly Roll dresses that were inspired by another blog, but I think might be different enough for me to write about later :)

I'm also DYING to make a quilt, but am trying to patient enough to acquire enough scrap material to do it with.